


Does your Brother printer insist on displaying the message “Replace Drum” even after you have replaced it with a new one? This is infuriating, such as when you put gas in your car, and the fuel light does not go off. It is not a malfunction, do not worry. This blog will show you how to make your Brother printer accept the new drum unit and start working normally again.
Why Brother Drum Reset Is Essential
Now that we are ready to get into the steps of reset, it is important to know why. The drum counter is located inside the Brother laser printers. This counter measures the remaining drum life of the drum unit. It makes sure that the printer reminds you to change the printer drum before its performance fails, and the quality of the print remains. But when you replace a new drum unit, the printer does not automatically detect this. It still uses the counter data of the old drum and shows the error message of “Replace Drum” and even does not allow printing. This is similar to a faithful watchdog who continues to raise the alarm according to the outdated instructions, even when the threat has disappeared. When this happens, the drum stop function kicks in, preventing further use.
Therefore, it is necessary to reset the drum counter manually. It informs the printer that a new drum unit has been installed and it can resume counting its life. This removes the error message and restores your printer to normalcy.
Brother Printer Models: Find Your Reset Method
There are numerous types of Brother printers, and the design of their control panels is different. Due to this reason, the drum reset procedure varies with the model. The first secret to a successful reset is to find the right procedure to use on your particular printer.
The first thing to do is to determine what type of Brother printer you have: does it have an LCD screen or touchscreen, or does it only have LED indicator lights and basic buttons? The kind of control panel, whether it’s a full keypad or simpler buttons, normally dictates the way you communicate with your printer in the reset.
The following table shows the typical models of Brother drum units and the type of printers they are used in. This can assist you in locating your approach:
| Drum Model | Common Corresponding Printer Types | Main Control Panel Feature |
| DR-730 | MFC-L2750DW, HL-L2370DW Series | LCD or Touchscreen |
| DR-2400 | MFC-L2711DW, HL-L2350DW Series | LCD or LED Indicators |
| DR-630 | HL-L2380DW, MFC-L2740DW Series | LCD or Touchscreen |
| DR-2200 | HL-2270DW, MFC-7360N Series | LCD or LED Indicators |
| DR-420 | HL-2130, HL-2240D Series | LED Indicators |
| DR-2300 | HL-L2300D, HL-L2310D Series | LED Indicators |
| DR-431CL | HL-L3270CDW, MFC-L3770CDW Series | Color Touchscreen (K/C/M/Y) |
| DR-451CL | MFC-L8900CDW, MFC-L9570CDW Series | Large Color Touchscreen (K/C/M/Y) |
Step-by-Step LCD Screen/Touchscreen Reset Guide

This section explains how to reset the drum counter for Brother laser printers with an LCD screen or touchscreen. Common models include MFC-L2710DW, HL-L2370DW, MFC-L3770CDW, and MFC-L8900CDW.
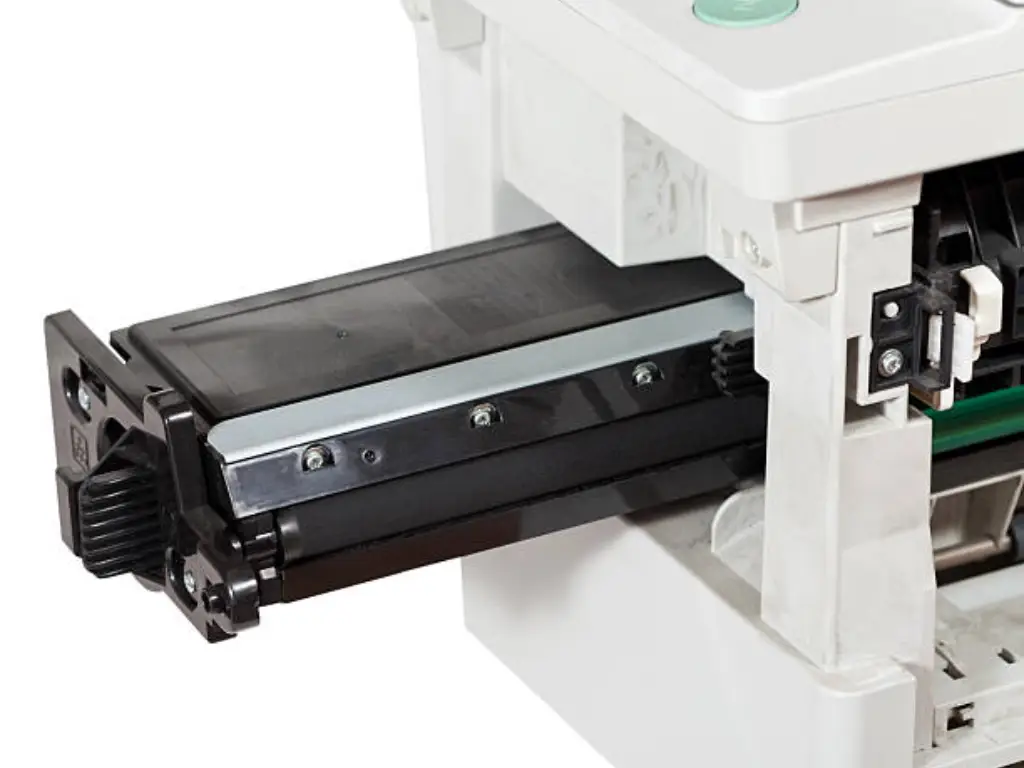
1. Turn on your printer and close the front lid (or follow screen prompts). Most times, you need to close the front lid. But some models might require it to be open. Always check your specific model’s instructions.
2. Navigate to the reset option:
•For models with “OK” and arrow keys (like MFC-L2710DW, HL-L2370DW Series): Press and hold “OK” + “▲” (or “Up arrow”) for about 3-5 seconds. The screen may show “Drum Unit.” If there’s no “Up arrow,” try pressing and holding “OK” alone.
•For models with a “Clear/Back” button (common in older or specific models): Press the “Clear/Back” button. The screen will show “Replace Drum?”. Not all models have this button combination; it’s mostly found in older or specific models.
•For color touchscreen models (like HL-L3270CDW, MFC-L3770CDW, MFC-L8900CDW Series): Press and hold the “Settings” icon (or wrench icon) on the home screen for about 5 seconds. Make sure to hold until a sub-menu appears.
3. Select the drum option:
•If the screen shows “Drum Unit”: Press “OK” again. This confirms you want to reset the drum counter.
•If the screen shows “Replace Drum?”: Select “Yes” or press “1” (numeric keypad). Confirm you want to reset.
•After entering the settings menu: Go to “Machine Info” > “Parts Life” (or “Reset Parts Life”) > “Drum.” Steps might vary slightly by firmware version.
4. Perform the reset:
•For monochrome printers: Press the “Up” arrow key or “1” to select “Reset.” The screen will show “Accepted.” The error message should then disappear.
•For color printers: Press the toner color you changed (K/C/M/Y) and then press “Yes” / “Reset.” Color printers tend to make you reset each color of the drum individually.
5. Close the front cover and check. In case the error is still there, make sure you have done the steps properly or restart the printer.
LED-Only Brother Printer Reset Method
This section explains how to reset the drum counter for Brother laser printers that only have LED indicator lights or simple buttons. Common models include HL-1110, HL-1210W, HL-L2350DW, and HL-L2300D. Since there’s no screen, these operations often require precise button timing and observation of the indicator lights.
1. Turn on your printer and close the front cover (or follow instructions). Most times, you need to close the front cover, but a few models might require it to be open. Always check your specific model’s instructions.
2. Locate the “Go” button (or “Start” / “Power” button on some models). Some older or more basic models might not have a clear “Go” button; look for “Start” or the power button instead.
3. Press and hold the “Go” button for about 4-10 seconds until all LED indicator lights turn on. The duration you hold the button is crucial; too short or too long can cause the reset to fail. Usually, you release it right after all lights turn on.
4. Release the “Go” button. All lights should temporarily turn off after you release it.
5. Press the “Go” button once more (or a specific number of times), then release. The “Ready” light should turn on, and other lights should turn off (the “Drum” light should be off), indicating a successful reset. Some older models might require pressing the Go button a specific number of times (e.g., twice) or holding it until the Ready light comes on.
6. Check the result. The printer should return to a ready state, with no “Drum” light on or flashing. If the error persists, check if your steps were correct, especially the timing and number of button presses. It may take several tries to succeed, like untying a stubborn knot, requiring patience and a few attempts.
7. Special cases (some older models like HL-1110): For these more basic models, you might need to open the front cover, then press and hold the “Go” button for about 10 seconds until all LED lights turn on. Release the button, then close the front cover.
Troubleshooting Common Drum Reset Issues
Even with correct steps, sometimes the reset fails. Here are some common problems and their solutions, often covered in our FAQs section:
•Error message still appears after reset:
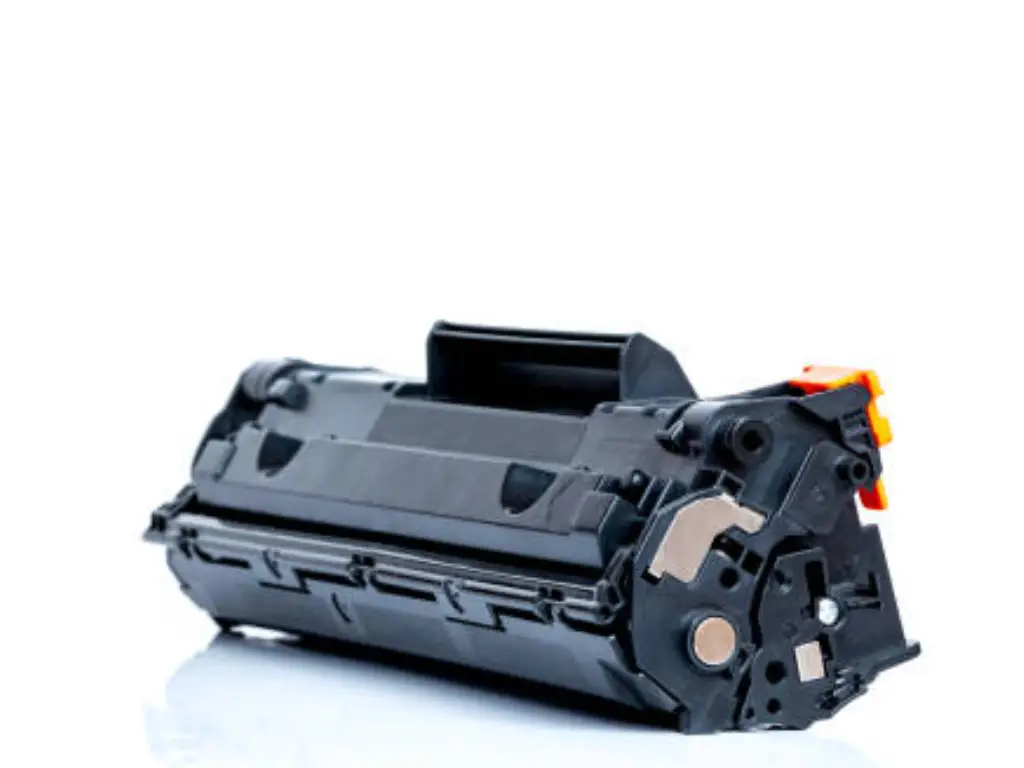
•Confirm the drum unit is installed correctly: Sometimes, the drum isn’t fully seated. Remove the drum and toner cartridge, then reinstall them, making sure you hear a “click.”
•Confirm you installed a new drum unit: If you’re resetting an old drum, the printer might continue to show errors because its actual life is over.
•Check button timing and number of presses: For LED-only models especially, the duration and number of presses are very important. Read the steps carefully again and try multiple times.
•Restart the printer: Turn off the printer, unplug it for a few minutes, then plug it back in and turn it on. Try the reset again.
•Buttons don’t respond or reset option is missing from the menu:
•Make sure the printer is ready: The printer might not allow a reset if it’s printing or processing a task.
•Model specifics: Your printer model might have a slightly different reset method. Always check your printer’s user manual or Brother’s official support page.
•Try button combinations.
•Only the black drum was reset on a color printer:
•For color laser printers, each color drum (black, cyan, magenta, yellow) has a separate counter. You need to select and reset each replaced drum color based on the screen prompts.
Maintain Your Drum: Tips for Longevity
Resetting the drum counter solves the error message, but it doesn’t make the drum last forever. Through proper maintenance, you can maximize your drum unit’s lifespan and get consistent, high-quality prints:
•Avoid direct sunlight: The photoreceptor drum is very sensitive to light. Long exposure to strong light can cause it to age and damage.
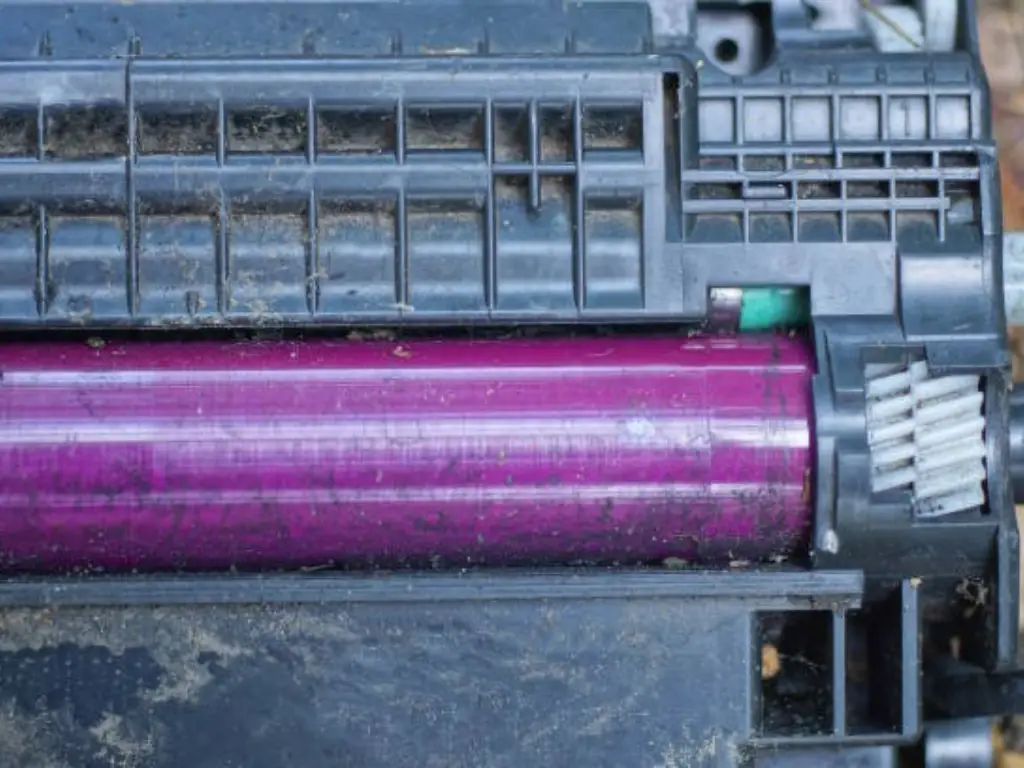
•Avoid touching the photoreceptor drum: The green or blue photoreceptor surface of the drum is very delicate. Fingerprints, oil, or scratches can affect print quality.
•Clean the corona wire regularly: The drum unit has a thin corona wire that creates static electricity on the photoreceptor drum. Printers often provide a green or blue slider for cleaning. Regular cleaning helps prevent vertical streaks or smudges on prints.
•Use high-quality toner cartridges: Low-quality toner can wear down the drum unit, shortening its life.
When to Replace Your Brother Drum?
Resetting the counter fixes the “Replace Drum” message, but it doesn’t make the drum last forever. So, when is the best time for drum replacement?
•Noticeable print quality decline: If your prints start showing blurriness, fading, streaks, spots, or blank areas, even if the drum counter isn’t due, it might be a sign the drum’s life is ending. This is like an old paintbrush; even with plenty of paint, its strokes lose their original precision and fullness.
•Drum life indication: Brother printers usually indicate the drum unit is nearing or has reached its designed lifespan after you replace 3-4 toner cartridges. At this point, even if you reset the counter, the drum’s print performance might start to drop.
•Reset fails and errors persist: If you’ve followed all reset steps, but the printer still displays the “Replace Drum” error and print quality is affected, then the drum likely needs replacing.
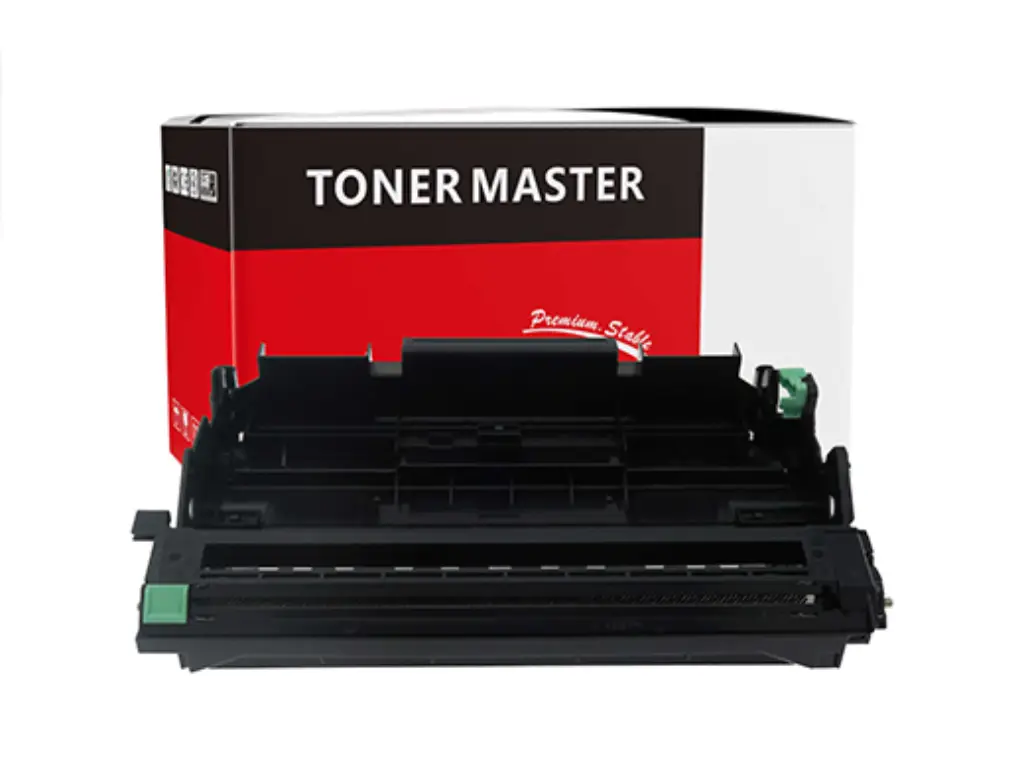
When your Brother printer drum truly reaches the end of its life, replacing it with a high-quality drum unit is vital for optimal print quality and printer longevity. Here, Toner Master, your specialized toner consumables expert, offers excellent solutions. We know the importance of a high-quality drum unit. It is the core of printing image, like the lens of a precise camera; its quality directly determines the clarity and detail of the final image. Choosing Toner Master means you choose a drum unit that performs well, is highly compatible, and provides clear prints, making every print perfect.
Toner Master: Your Specialist for Quality Drums
Toner Master is a reliable source of drum units and toner cartridges in printing consumables. Our goal is to provide you with convenient printing and substantial cost savings.
Why us?
•Professional R&D and Wide Compatibility: We test our products on the new Brother models as they come out. This makes our matching drums fit like a glove, with print quality and life like original parts. We supply Brother, Canon, HP, and numerous other large brands.
•High Quality of Products: All our drum units are made of high quality materials. Our toners are of high resolution and darkness with accurate particle sizes. We have automated production and no human errors. All products are quality tested.
•Great Cost Saving and Environmentally Friendly: The compatible consumables of Toner Master are only a third of the cost of original parts. We also apply environmentally friendly materials and promote recycling.
•End-to-End Service and Guarantee: We provide 24/7 support, professional advice, and customization. Eligible clients can get free samples. We have a high production which implies a high stock and a quick delivery. We provide 3 years warranty and our products are CE, FC, RoHS, TUV, ISO9001, ISO14001, STMC certified.
Select Toner Master as a reliable supplier of printing consumables. We will make your printer work its best and save you money.