












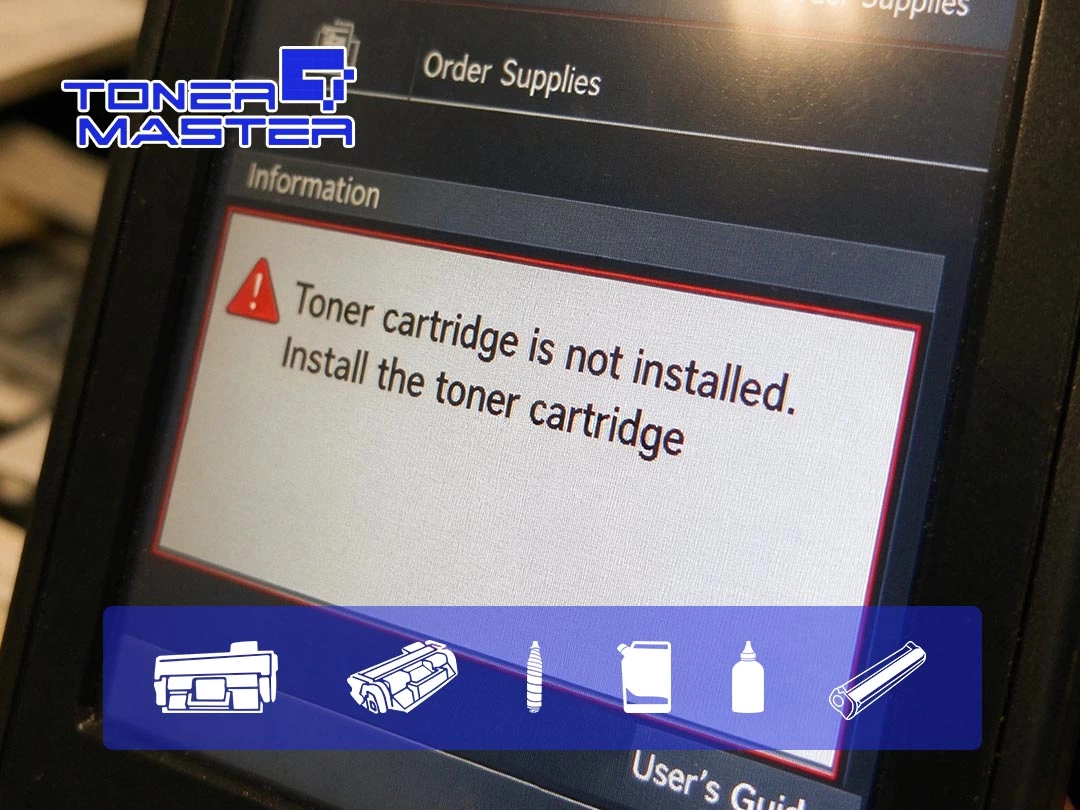
Last week, we had a customer storm into our inbox, and boy, was he not happy. He told us in no uncertain terms that Toner Master’s quality was terrible. He’d bought our 106A cartridge, installed it, and… nothing. The printer refused to print and threw up that dreaded message: “Toner Cartridge is not installed. Install the cartridge.” He was frustrated, disappointed, and ready to write us off.
Plot twist: it was all a big misunderstanding.
After several rounds of video troubleshooting together, we found the real culprit — a bit of grime on the chip contacts was causing poor contact. You see, there’s a tiny metal chip on the cartridge, and the printer has matching contact points inside. A little dust or dirt on either side is enough to break the connection. A gentle wipe of both the chip and the printer’s internal contacts with a dry, lint-free cloth — and just like that, the cartridge worked perfectly again. One small tip while we’re at it: try not to touch the chip directly with your fingers during everyday use.
And here’s the thing — this isn’t the first time we’ve gotten a complaint like this. When your printer says “Toner Cartridge is not installed,” it simply means the cartridge isn’t being recognized. No need to panic! It usually comes down to one of a few things: the cartridge isn’t seated properly, the protective covers weren’t removed, the chip contacts are dirty, or there’s an issue with the cartridge or chip itself.
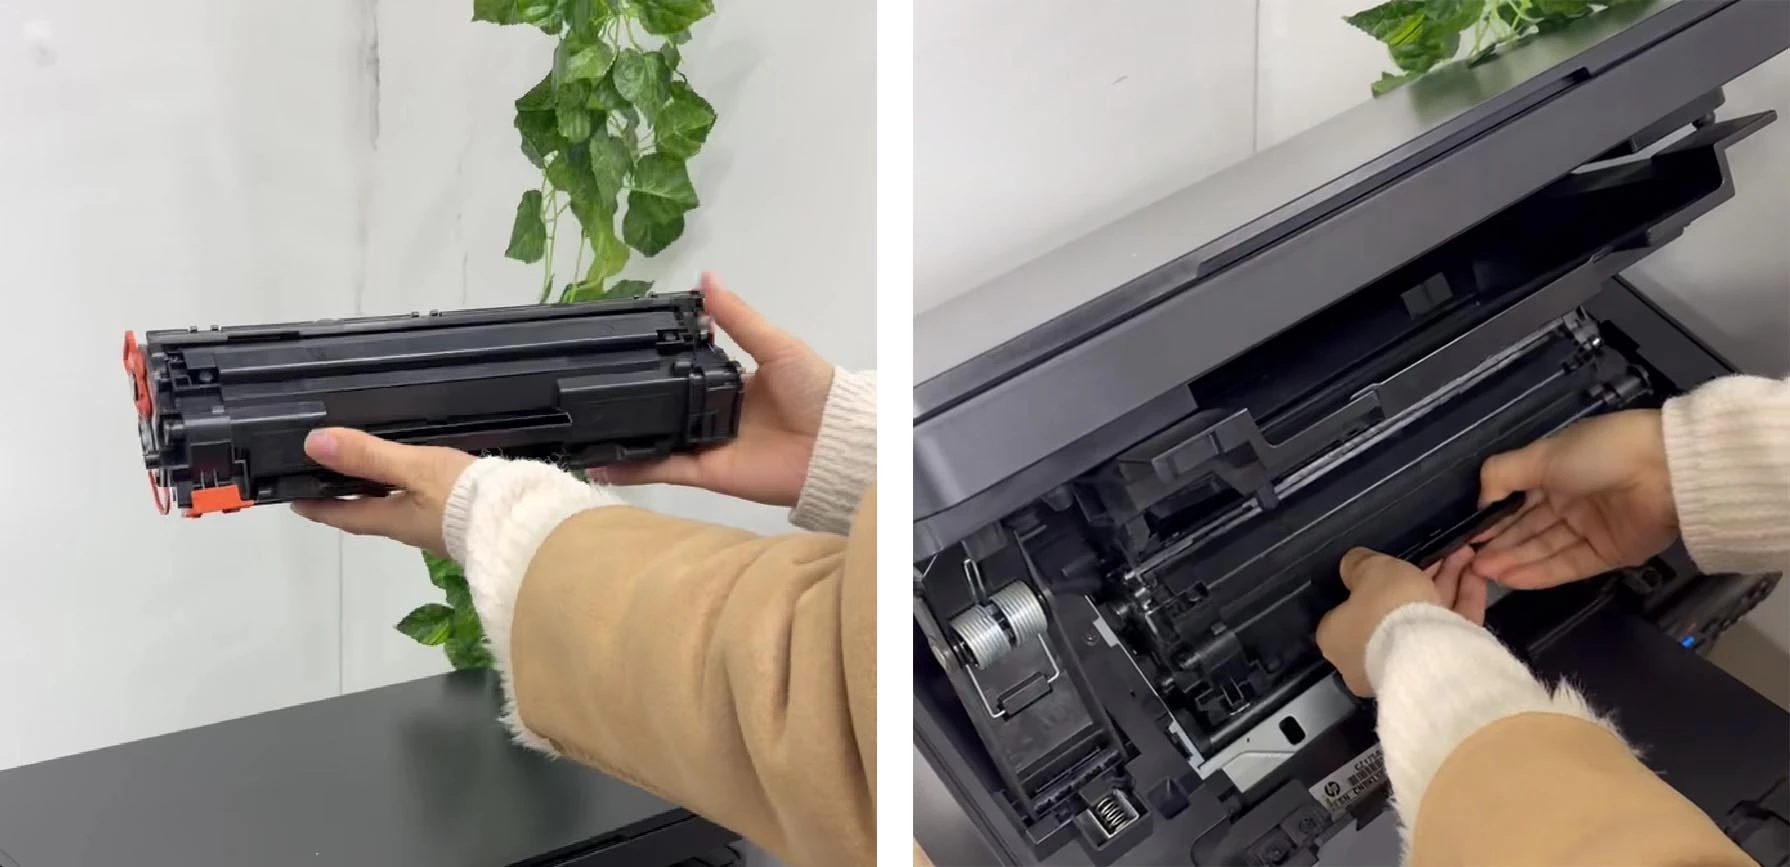
Here’s our troubleshooting checklist:
- Make sure all protective parts are removed. New cartridges typically come with orange clips, sealing tape, or protective covers. If any of these are left on, the printer physically can’t detect the cartridge.
- Reinstall the cartridge and make sure it’s locked in tight. This is the most common cause. Take the cartridge out and put it back in, pushing firmly all the way until it clicks or feels locked. Some models require you to slide it in horizontally first, then press down to lock it. If you just gently set it in, the contacts won’t connect — and you’ll get an error.
- Clean the chip contacts. There’s a small metal chip on the cartridge and corresponding contacts inside the printer. Dust or dirt on either one causes poor contact. Gently wipe both with a dry, lint-free cloth — and please, don’t touch the chip with your bare hands.
- Restart the printer. Turn it off, unplug the power cord, wait 60 seconds, then plug it back in and power on. This clears out temporary detection errors.
So there you have it — a “quality complaint” that turned out to be a dirty contact point and a five-minute fix. At Toner Master, we take every piece of feedback seriously, and we’re always happy to walk you through troubleshooting step by step. Because sometimes, the problem isn’t the cartridge — it’s just a little dust standing between you and perfect prints.