


Why Timely Toner Replacement Matters for Your Brother Printer
In the home and office, the Brother printer is a major workhorse that is able to print documents, reports, and photos at a high quality. Like any important tool, it does need some maintenance occasionally, and every now and then one of the more important steps is getting a new toner cartridge. Mishandling this simple and straightforward procedure can create a myriad of problems that may hinder the quality of your prints or even shorten the life expectancy of your Brother laser printer.
Consider getting ready for an extremely important presentation only to find that your documents have streaks, faded text, vertical stripes, or are blank. That is pretty common and can be experienced if your toner cartridge is empty. Other than the frustration and wasteful paper usage, having a Brother machine operate with low toner will also lead to straining other components, leading to a high chance of expensive repairs in the future.
In addition, the latest Brother printers feature smart sensors that check the remaining toner levels. Failure to heed low toner notifications may lead to the machine completely stopping performance until a new toner is provided. Replacing the toner in time improves productivity and creates room for smooth printing. Preventative measures like these are what make sure the printer stays useful for a long time.
Overview of Brother Printer Models and Compatible Toners
From home offices as adaptable as a chameleon to expansive corporate facilities, Brother has made sure to cover all use cases with its wide offering of laser printers and multi-function centers. Getting acquainted with the various grade levels of the Brother printers and their accompanying toner ink cartridges, especially the genuine Brother toner cartridges, is crucial to making the replacement process easier.
The most used series are MFCs multifunctional devices that incorporate printing, scanning, copying, and at times even faxing, alongside the Brother’s dependable HL series, which is noted for their super-fast monochrome printing. Under these umbrella categories, there exists a multitude of other models each with their specificities.
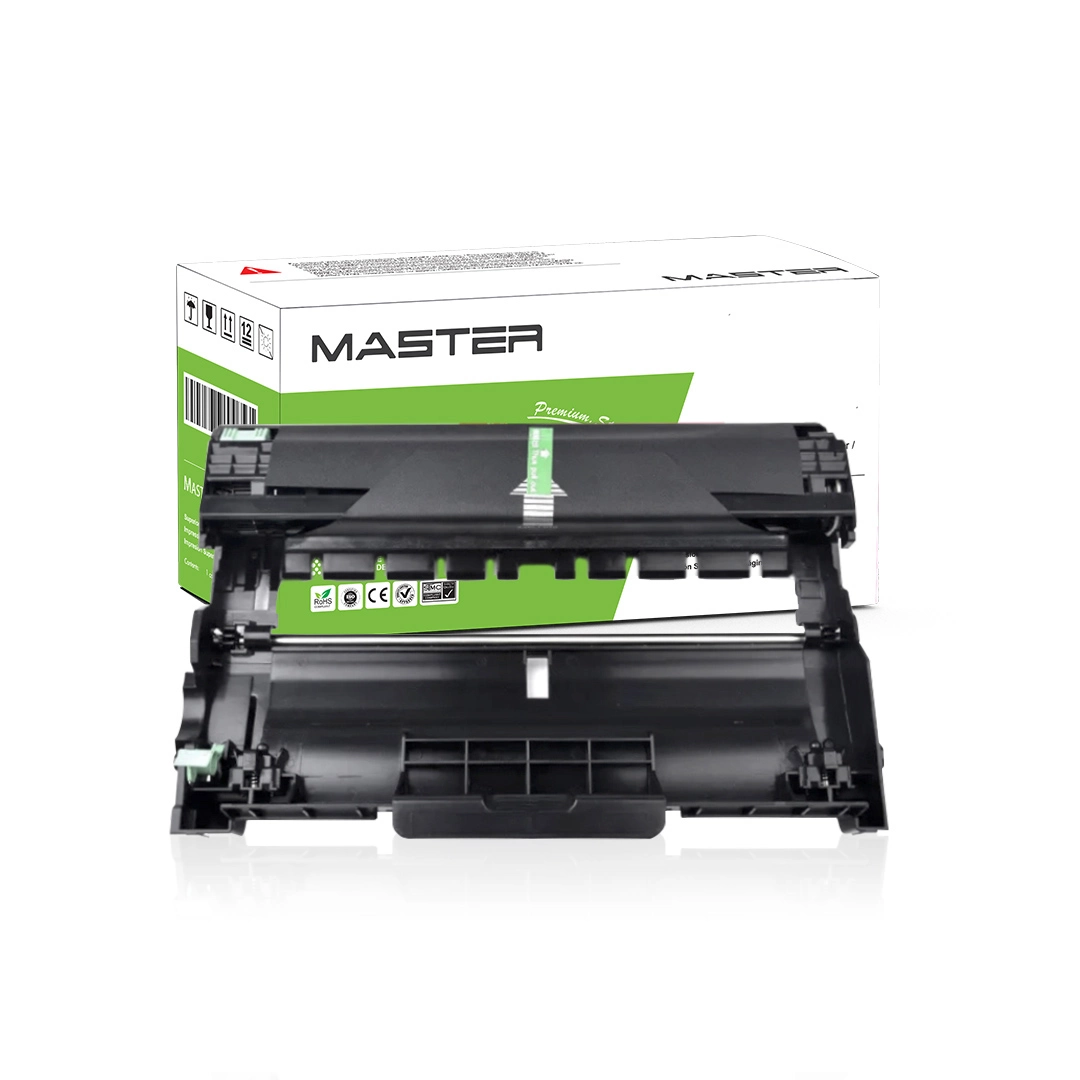
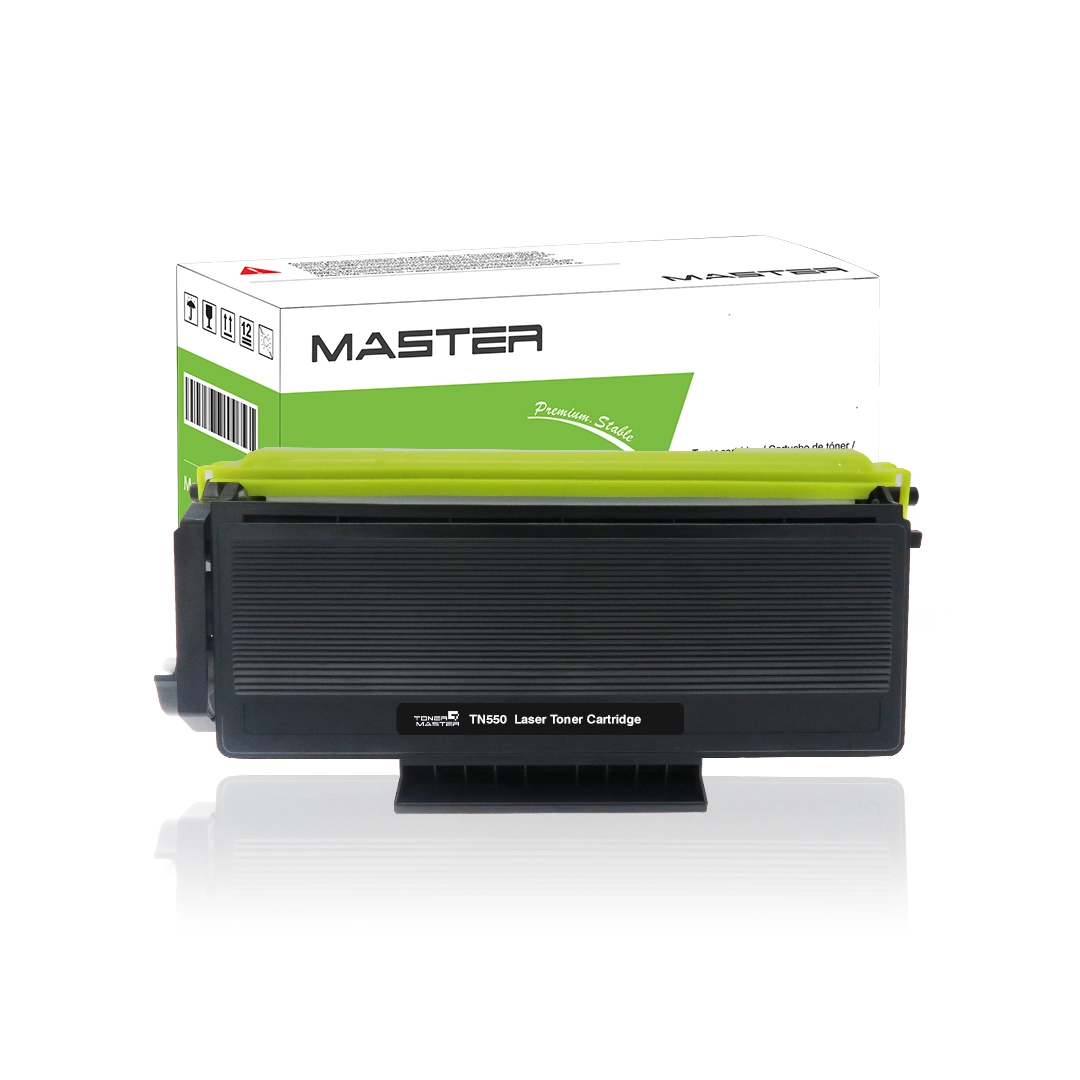
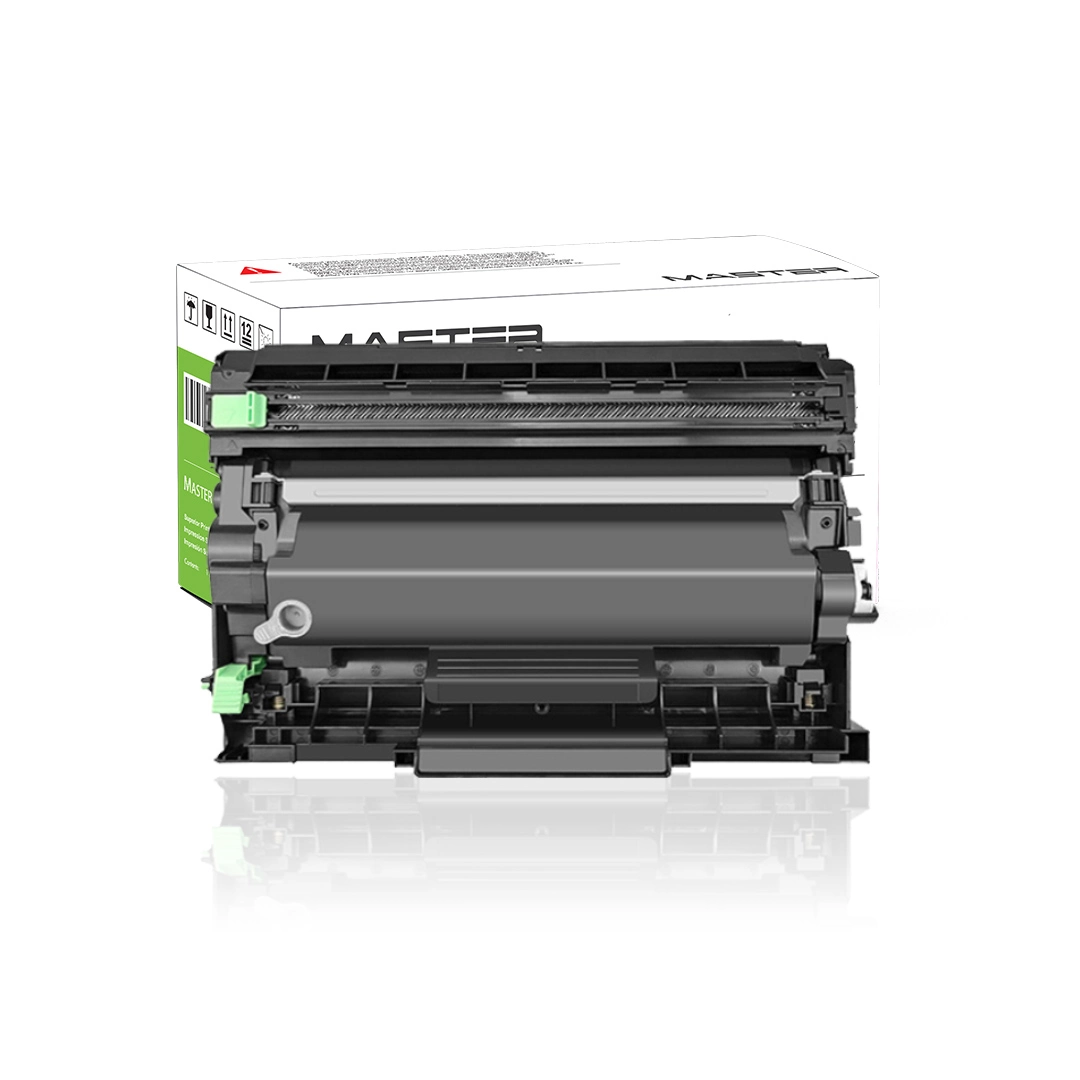
As an example, small offices and households often have the Brother L2000 and L2700 series as their favorites due to their compact design and efficient printing as well s ease of use. These series take advantage of toner cartridges like the TN-2480 or TN-2450 which offer high-quality printing, prolonging toner life. On the other hand, the Brother L5000 and L6000 series are tailored for powerful printers that deal with high-volume printing for big offices. These models frequently utilize high-yield toner cartridges such as the TN-3607 or TN-760 which are more cost-efficient when it comes to pages printed per toner due to prolonged usage.
Before proceeding, it is helpful to locate the Brother printer model number, which may be placed along the front or top of the printer. Knowing the model number helps identify which toner cartridge fits best. Well-known and reputable brands such as Brother have already developed a range of authentic laser printer toner cartridges and drum units for many of their printers. This includes those in the aforementioned series and models such as the TN-2445. With they have such a broad stock, you are sure to get one that suits your specific printing requirements.
So that you can easily identify toners and drum units that fit with some of the popular printer series from Brother, here is a short summary:
| Brother Printer Series | Example Models | Toner Master Compatible Toner Models (Examples) | Recommended Drum Unit Model |
| HL-L2000 Series | HL-L2350DW, HL-L2370DN, HL-L2395DW | TN-2480, TN-2450, TN-2445 | DR-2455 |
| MFC-L2700 Series | MFC-L2710DW, MFC-L2730DW, MFC-L2750DW | TN-2480, TN-2450, TN-2445 | DR-2455 |
| DCP-L2500 Series | DCP-L2530DW, DCP-L2550DN | TN-2480, TN-2450, TN-2445 | DR-2455 |
| HL-L5000 Series | HL-L5100DN, HL-L5200DW, HL-L5200DWT | TN-3607, TN-760 | DR-3400 |
| MFC-L5000 Series | MFC-L5700DW, MFC-L5800DW, MFC-L5900DW | TN-3607, TN-760 | DR-3400 |
| HL-L6000 Series | HL-L6200DW, HL-L6300DW, HL-L6400DW | TN-3607, TN-760 | DR-3400 |
| MFC-L6000 Series | MFC-L6700DW, MFC-L6800DW, MFC-L6900DW | TN-3607, TN-760 | DR-3400 |
Note: Always verify the exact compatible toner and drum unit models for your specific printer model number.
A General Guide to Changing Toner on Most Brother Printer Models
The method for changing toner cartridges is similar among Brother printers, though each model may have minor differences in the step processes. Thus, for ease of use, you may follow this comprehensive guide.
Step 1: Power Off Your Printer and Open the Front Cover
Remember to toggle off the electrical supply as the very first step in maintaining your printer. This step is very important in order to avoid electrical fires or harm to the printer’s intricate parts. After powering off, wait until the printer is inactive, and look for a front protective cover release latch which is often located at the side or the front of the printer. After this step, you can safely obtain access to the toner cartridge and drum unit assembly.
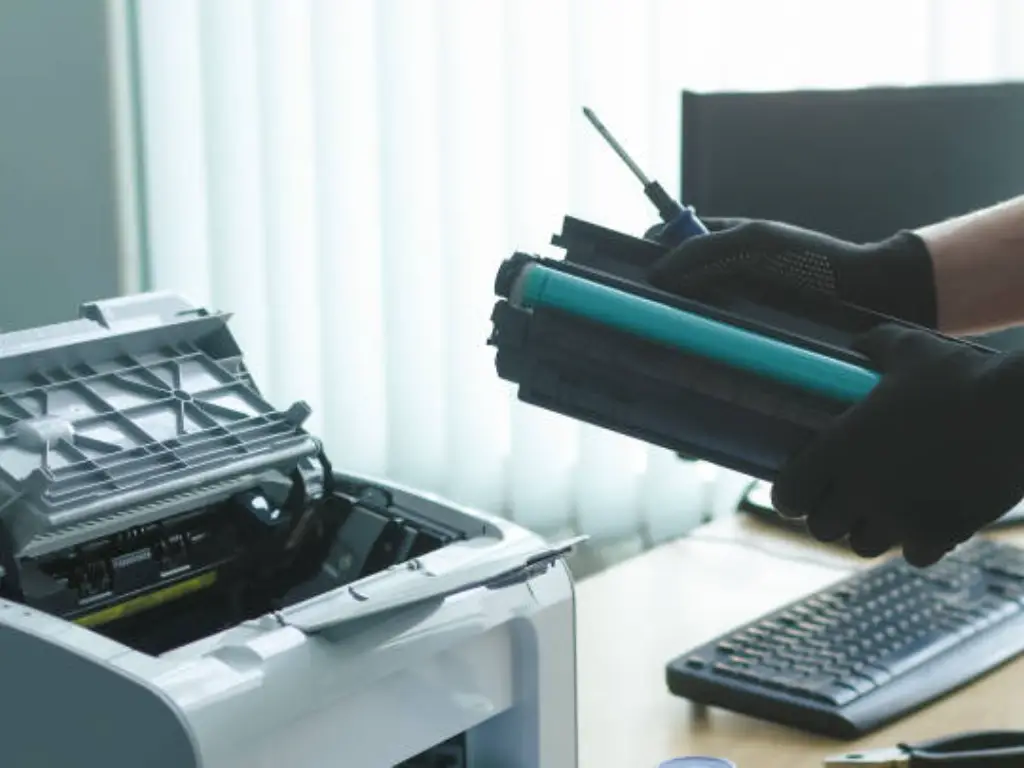
Step 2: Remove the Old Toner Cartridge and Drum Unit Assembly
The first thing you’ll see inside the printer is the integrated toner cartridge and drum unit assembly. You need to take it out by gently turning the green handles located on both ends of the assembly. You need to push the release tabs or buttons to the sides of the assembly. Pulling out the entire assembly should be done slowly and in a straight manner. To protect the rest of the furniture, this component must be placed on a level and sturdy surface while ensuring that it has a plastic cover to prevent the toner from staining the furniture.
Toner Master Tips: If you are removing the older assembly, ensure that the entire unit is at a slight angle less than thirty degrees. This will assist in avoiding leakage of the remaining toner powder.
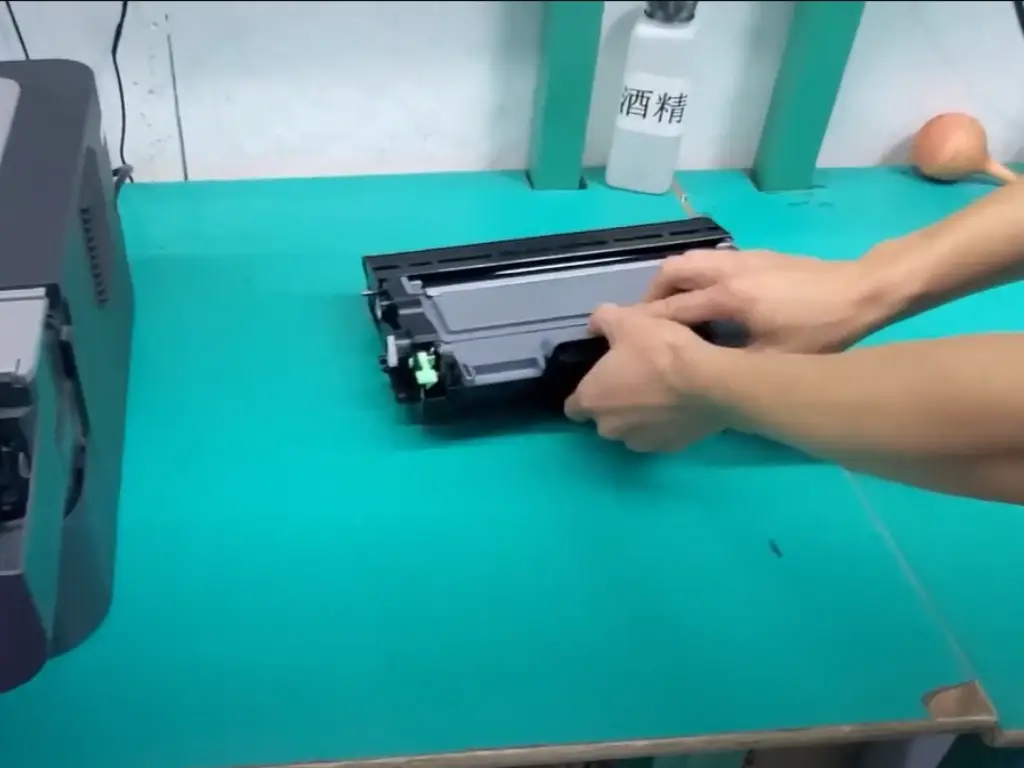
Step 3: Separate the Old Toner Cartridge from the Drum Unit
The toner cartridge is generally mounted on the drum unit. To remove it from the drum unit, find the green release lever placed on the drum unit. While pulling down on the lever, simultaneously slide the old toner cartridge off the drum unit. You’ll notice a click, which confirms its separation. Place the old toner cartridge aside for disposal or recycling.
Step 4: Unpack and Prepare the New Toner Cartridge
Take care to unpack the Brother toner cartridge. It is usually stored in a protective bag. Take the cartridge out from the bag on a flat surface while ensuring it is undamaged or unscratched.
- Find the sealing strip fixed to the side of the new toner cartridge. Following the arrow direction on the packaging will signify releasing it, so gently but firmly pull the strip straight out. This action releases the toner powder contained inside.
- Keep the new toner cartridge in a horizontal position before giving it a gentle shake sidewards about 5 to 6 times. This ensures that the toner powder is evenly distributed inside the cartridge, which directly impacts print quality consistency.
Please take care not to touch the gold or copper chip contact on the side of the new toner cartridge. This chip is critical for the interaction between the toner cartridge and printer, assuring correct recognition and communication between the two components. In theory, it could damage the chip and create compatibility problems.
Step 5: Install the New Toner Cartridge into the Drum Unit
Next, position the new toner cartridge in the drum unit and ensure the new cartridge’s slot fits into the drum unit. Push the new cartridge into the drum unit until it clicks. Check to make sure it is properly placed.
Step 6: Slide the Green Lock Lever (If Applicable)
On certain models of Brother printers, after replacing the toner cartridge with the new one, the green lock lever on the drum unit should also be moved back to its default position (most of the time, this is the unlocked position). This helps maintain the toner cartridge in the drum unit. It might help to look up the manual for the printer if you are not sure what position the lever is meant to be at.
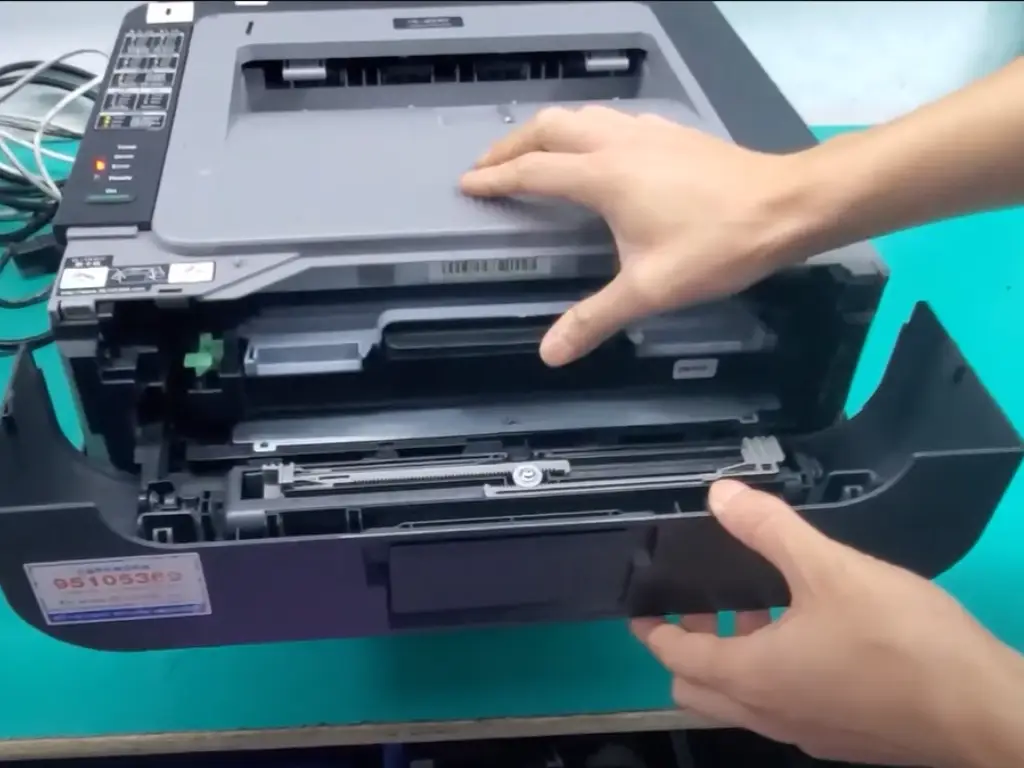
Step 7: Reinstall the Drum Unit and Toner Cartridge Assembly into the Printer
It is worth noting that you should clean the corona wire on the drum unit gently at this point so it does not have dust. Find the green tab on the drum unit and slide it to the right and left multiple times. After doing this, you should gently replace the whole assembly of the drum unit with the toner cartridge back to the printer. Make sure it is lined up with the appropriate guides, within the printer, and then press it in until it clicks.
Step 8: Close the Top Cover and Power On Your Brother Printer
After the installation of the components, close the front panel of your Brother printer. You can now switch on the printer. The printer requires a few seconds to detect the newly installed toner cartridge, however, you should be seeing the toner level indicator on the printer or computer displaying that the cartridge has indeed been installed and is ready for usage.
Ensuring Optimal Performance with High-Quality Brother Toner Cartridges
It is vital to note that each Brother printer has its own features, pros and cons, requirements, and workflows—and that determines how cyclically replacing their consumables gets done. Changing toner is normally not a problem at all, but rather a straightforward operation. No matter how easy it is to change a toner, its cartridge still greatly affects the performance and lifetime of the printer. The experts at Toner Master with more than 16 years in providing printer consumables designed the optimal solutions to every printer’s needs with precision and care.
Every 16 years of focus on manufacturing reliable toner cartridges resulted in a huge catalog filled with captivating offers for brands such as Brother including L2000, L2700, L5000, L6000 series, and TN-3607, TN-760, TN-2480, TN-2450, and TN-2445 models.
It goes without saying that all printers have different requirements, workflows, pros and cons, and each of them decides based on this when renewing consumables periodically. Together with this, Master Toner also largely guarantees that there is no shortage of consumables for Brother printers due to having such a considerable monthly production volume of 500,000 units. Quality is never compromised because they use the best materials and modern automated production that includes 30 lines working automatically, minimizing human error to provide consistently high quality.
Toner Master’s laser toner cartridges are maintenance-free and perfect for bulk printing. Their proprietary technology ensures sharp imaging while economizing on toner – achieving remarkable print quality and cost-effectiveness. To further guarantee customer satisfaction, Toner Master surpasses the industry’s two-year warranty by providing three years of warranty coverage on all products.
Opting for Toner Master means selecting a toner cartridge with guaranteed excellent integration and dependable function that will enhance the service life and efficiency of your Brother printer.
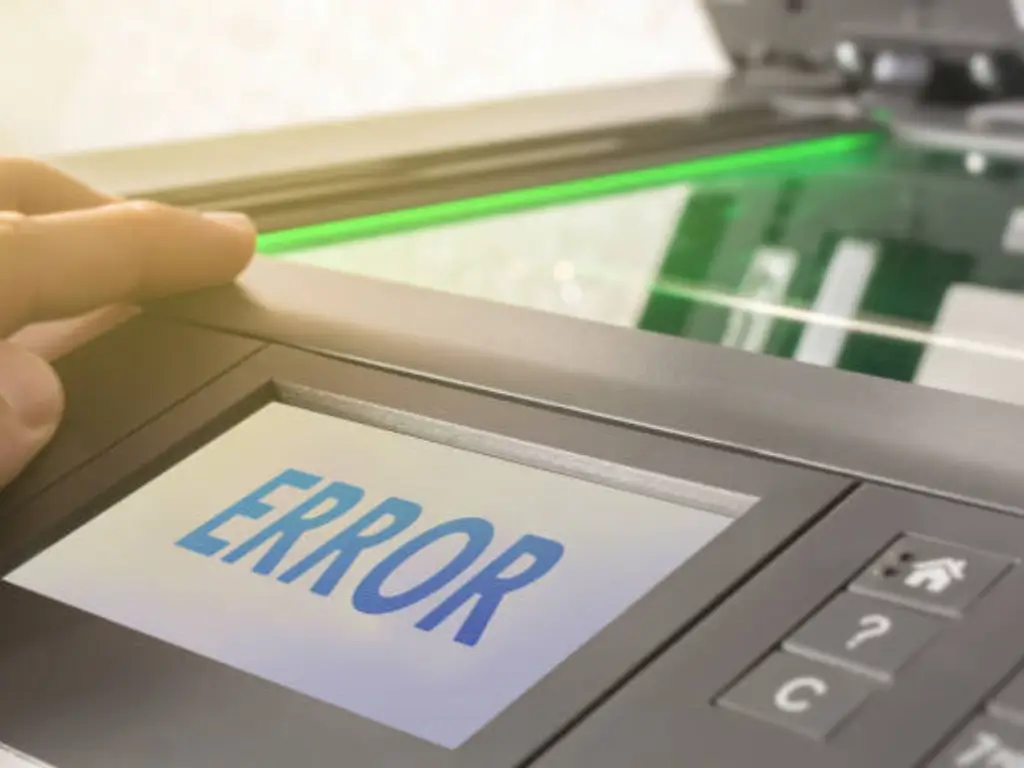
Troubleshooting Common Issues After Toner Replacement
Replacing the toner is a step-by-step process and even after completing it, certain issues may arise. Here are some of the most common problems that arise and how to solve them.
What to Do with “No Toner” or “Low Toner” Messages?
When changing the cartridge, if the brother printer displays an error message saying ‘ No toner’ or ‘ Low toner’ or does not detect a new toner was placed, follow the steps to resolve the issue:
- Make sure the cartridge is placed properly: Check that the cartridge containing the toner and drum unit assembly is properly locked in place. If the shelf seems off, make sure it is aligned correctly.
- Check if the warranty seals have been taken off: Confirm that all the protective covers and seals have been removed from the new cartridge. Attention should be especially given to the sealing strip that keeps the toner powder confined.
- Confirm the right cartridge number is used: Take a look at the cartridge that has been installed and check if it is of the right model number for your brother’s printer. A good resource is the user manual or website from where the toner was purchased.
- Wipe Forever Clean the chip contacts: Use a clean and dry cloth to gently touch the chip contacts that are on the toner cartridge and inside the printer. Dust or residue may sometimes block communication between the cartridge and the printer.
- Resetting: Rebooting the printer may also solve other minor issues on the printer. To reset your printer, turn off the printer, wait for a few minutes then turn it on.
If the problems still persist after the steps taken are followed, go through the Brother printer manual or reach out to customer service from the supplier who provided the toner cartridge.
Addressing Print Quality Problems After Toner Change
If prints are continuously coming out as streaks, smudged, or even fainted, check these pointers after changing the toner.
- Check if the if the toner was shaken: It is advised in the first section of the instructions that placing the new toner cartridge horizontally and shaking it gently will help spread the powder. If this instruction wasn’t done, then remove the cartridge, shake it, and put it back on again.
- Examine the drum unit: This part operates independently of other components, and it is critical for ensuring print quality. A worn-out or broken drum unit will result in poor print quality even when a new toner cartridge is installed. If you suspect any damage or if there is a possibility of nearing its expected usage, a replacement should be considered. Many suppliers and vendors sell quality compatible drum units for Brother printers.
- Perform a cleansing cycle: Most Brother printers are equipped with a cleaning cycle that deals with lower-degree level print quality anomalies. Please check the manual for your specific printer model for guidelines on where to access the cleansing cycle.
- Check the Paper: Make sure that the paper being used is compatible with the printer’s make and even its intended style of printing. Error in setting up the paper sometimes causes lower than average print quality standards.
If after carrying out these self-help steps there are still persistent issues with print quality, this could mean there is a problem with the toner cartridge and the printer itself. For toner cartridges, get in touch with their customer care desks. For printer problems, contact a specialized technician.
Conclusion: Successfully Replacing Toner on Your Brother Printer
Like any other machinery, changing the toner cartridge on your Brother printer does take some time and can seem difficult to some, but with the proper instructions, it can be quite simple. Following the steps within this guide, you can achieve timely high-quality prints with little to no interruptions.
Always use the recommended toner for your specific printer model, as doing so ensures an effortless printing experience and prolongs the life of your Brother printer.