


We live in the digital era, but we still use printing to make our ideas on the screen become real. Whether it is a crucial business document or a treasured family photo, the quality of the print has a direct impact on the way information is communicated and emotions are shared. Bad print quality is a misunderestimated work of art; it does not reveal its worth. This blog will demystify the secrets of print quality and you will be able to master the major factors to enhance your print output and make every print perfect, achieving great results.
Decoding Print Quality Settings
A printer is not a push-button output box. It has a set of complex and precise settings within which have a direct impact on the quality of the final output. The initial step to better print quality is to learn and properly configure these printer settings. You can usually find these in your printer’s control panel or through the advanced properties menu on your computer.
The first one is DPI. It is one of the most significant print resolutions. The higher the DPI, the more ink or toner dots per inch the printer places on the paper. This improves the clarity of pictures and words, the depth of details and the smoothness of the edges, and it appears more professional, leading to sharper images. To illustrate, printing of general documents might only need 300 DPI, but printing of high quality photos might need 600 DPI or even 1200 DPI to show fine layers. Choosing the right DPI is like choosing the right brush to paint with; it determines the quality of the final product.
Then there is print mode. Most printers have various modes e.g. Draft, Standard, Best or Photo. It is rough, but fast and less ink is consumed in the mode named as Draft. The photo or best modes produce the best output, but are slower and use more supplies. Choosing the appropriate mode to fit your print jobs is rather important.
Finally, there is paper type matching. You have to tell the printer what different paper types you are printing on (e.g. plain paper, glossy photo paper, matte paper, cardstock, etc.). The papers have different surfaces. The printer has to adjust the quantity of ink spray or the melting point of the toner in such a way that the ink can be fixed appropriately and the optimum results can be achieved. In case of incorrect setting of the paper type, it can be a disaster, e.g. drawing on sand; the ink will not dry, and colors will be out of place. This directly impacts overall paper quality in the final output.
Choosing The Right Inks, Toners And Paper
Even with perfect settings, high quality supplies are essential. The choice of ink, toner, and paper forms the physical basis of print quality, and it should not be overlooked.
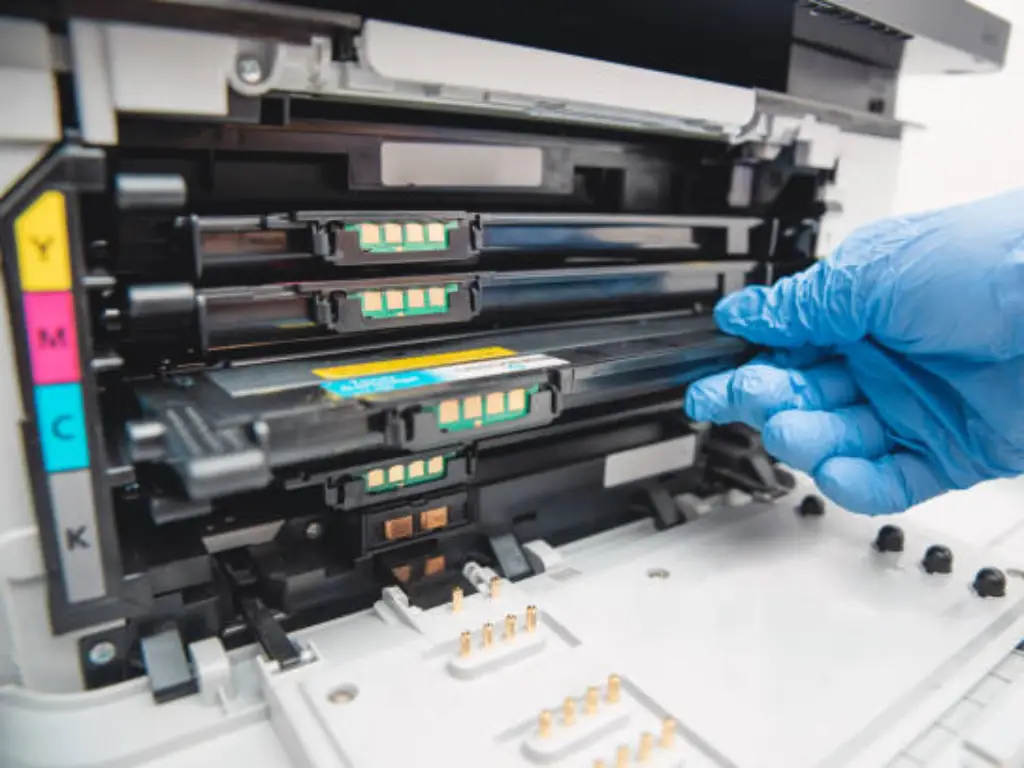
The quality of ink and toner directly affects color vibrancy, text sharpness, and image quality. Poor ink can cause clogs, color deviation, or even damage your printer. For laser printer users, toner selection is especially important. It does not just determine if you print, but also how well your print turns out. Low-quality toner can cause blurry prints, streaks, or incorrect tones, and over time, it can even wear down key printer parts.
At Toner Master, as a toner specialist, we understand the critical role toner plays in the printing process. We do not just provide supplies; we protect print quality. From the source, Toner Master strictly controls raw material selection and production processes. We make sure every toner particle has the ideal size and darkness, which directly impacts the sharpness of printed documents and the detail in images. Our toner formulas are carefully developed to achieve the best color reproduction and image density, making your text as sharp as a cut and your pictures vivid and clear.
Toner Master offers more benefits. We have strong compatibility coverage, supporting many popular printer brands like Brother, Canon, HP, and Konica Minolta, and thousands of models. This means no matter what printing equipment your office uses, you can find a matching and high-performing Toner Master toner product. We understand the unique needs of different printer models. Through ongoing research and testing, we ensure our toner formulas are perfectly compatible with each device. Even when new original models are released, we quickly get the equipment to test it, ensuring we can provide stable and reliable compatible solutions. Choosing Toner Master means you get print quality comparable to original supplies, and you also significantly lower printing costs. Our product prices are often just one-third of original supplies, making us an ideal choice for users who want good value and print a lot. We also focus on environmental protection, using eco-friendly materials and supporting recycling, showing our commitment to sustainability.
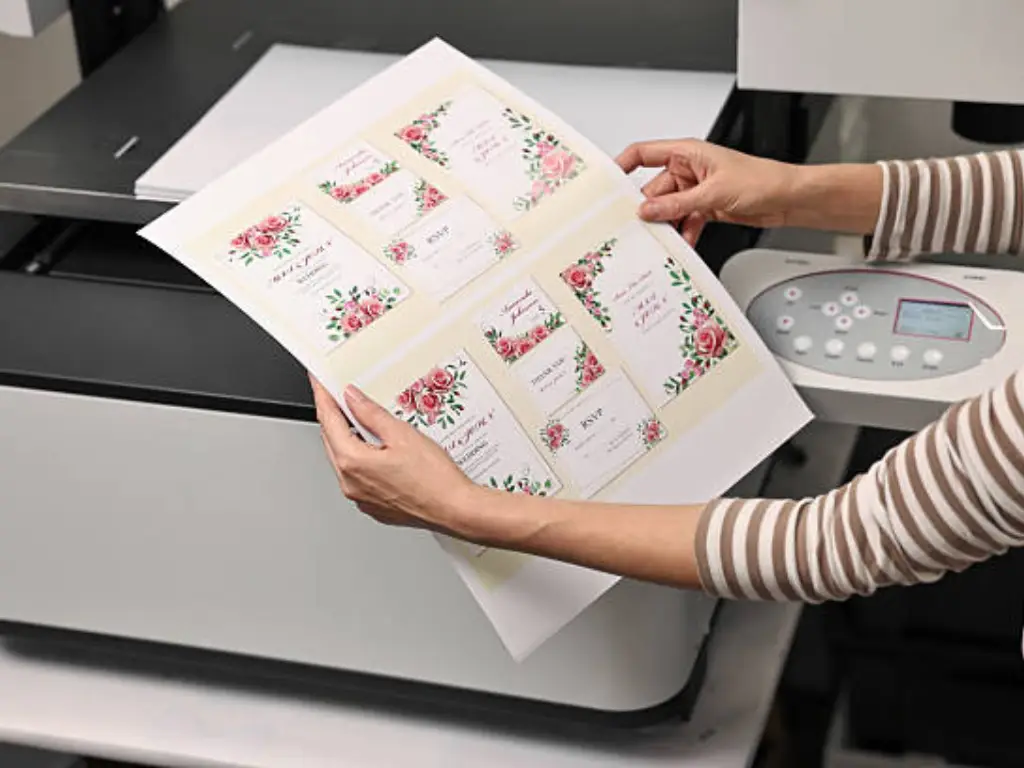
Paper choice is also very important. Different paper types are made for different purposes. Photo paper absorbs ink better, giving a glossy look. High-brightness, heavy-weight document paper makes text look sharper. Just like choosing the right dishes for different foods, selecting the correct paper maximizes your printer’s potential and prevents ink bleed-through, curling, or grainy results. This focus on paper quality will lead to great results.
Optimizing Your Source Files For Printing
Print quality does not only depend on the printer. The source file is like a foundation of a building. However fancy it is, it may collapse in case the foundation is weak. Therefore, it is quite essential to optimize your files before you press the button “Print”.
First, ensure that your pictures and documents are of sufficient resolution. In the case of images, they must be 300 PPI (pixels per inch) or more. In this manner, they will be able to print out to a clear 300 DPI, yielding sharper images and improved image quality. Images with low resolution will appear pixelated and blurred when printed big. Second, verify the color mode of your file. The majority of printers are set to CMYK (Cyan, Magenta, Yellow, Black) color mode, and screens are set to RGB (Red, Green, Blue). You can minimize color variation in the print by converting your file to CMYK before printing. Also, contrast, brightness, and sharpness of images can be adjusted to enhance the final print quality.
Essential Maintenance Tips For Pristine Prints
A printer is a precise machine, and like a car, it needs regular “maintenance.” Ignoring daily upkeep is like not putting fuel in a machine for a long time; its performance will naturally drop, and it might even stop working.
The most common maintenance is cleaning the print heads (for inkjet printers). If prints have streaks, missing colors, or look blurry, it usually means the print heads are clogged. Most printers have built-in cleaning programs; just follow the instructions. For laser printers, regularly cleaning the toner cartridge area and rollers is more important to stop extra toner buildup from affecting print quality. Also, regularly wiping dust inside the printer and the paper path ensures paper moves smoothly, preventing paper jams and ink stains. Alignment checks, often accessible via the printer’s control panel, can also prevent issues. Considerations like humidity in your print environment are crucial for maintaining paper quality and preventing issues. Finally, an often-overlooked point: use your printer regularly. Long periods without use can cause inkjet printer ink to dry up, leading to clogs. Even if you don’t need to print, it is a good idea to print a test page at least once a week.
Troubleshooting Common Print Quality Flaws

Even with good prevention, printers can sometimes “act up.” When facing common print flaws like blurriness, streaks, or color distortion, knowing basic troubleshooting steps helps you quickly get back to normal printing.
Common Issues and Solutions:
| Print Defect | Possible Cause | Solution |
| Blurry/Unclear | DPI too low; print head uncalibrated; wrong paper; poor quality supplies. | Increase DPI; calibrate print head; use high-quality paper; check/replace ink/toner. |
| Streaks/Missing Colors | Clogged print head; low/expired ink/toner; drum unit issue. | Clean print head; replace ink/toner; check drum unit status. |
| Color Distortion/Mismatch | File color mode mismatch; no color calibration; outdated driver. | Convert file color mode to CMYK; calibrate printer color; update driver. |
| Smudges/Spots on Print | Dirty printer interior; leaking ink/toner; damp paper. | Clean rollers and output tray; check supplies for leaks; store paper properly. |
| Paper Jams | Paper type mismatch; foreign object in paper path; damp paper. | Adjust paper settings; clear paper path; use dry, flat paper. |
When troubleshooting, follow a simple-to-complex approach to narrow down the problem.
Beyond Basics: Expert Tips And Upgrades
Once you have mastered basic print quality improvement tips, you might want to go further for even better results. This involves more professional operations and long-term planning.
First is color management. For photographers and designers, matching colors between the monitor and the printer is very important. By using a professional color calibrator for your monitor and printer, and creating an ICC (International Color Consortium) profile, you can ensure “what you see is what you get,” reducing color differences. Second, update printer drivers. Printer manufacturers regularly release updates to fix bugs and improve performance and compatibility. Regularly checking for and installing the latest drivers keeps your printer in top working order. Finally, if your old printer can no longer meet your growing quality needs, or if maintenance costs are too high, then upgrading to a new printer might be a smart choice. When buying, besides considering DPI and print speed, also look at the availability and cost of its supplies. This is like choosing a good horse for your business; performance and investment must be balanced.
Improving print quality is not a quick fix. It is a system that involves settings, supplies, maintenance, and file optimization. By mastering these tips, every print you make will not just be an output of information, but a presentation of art.