


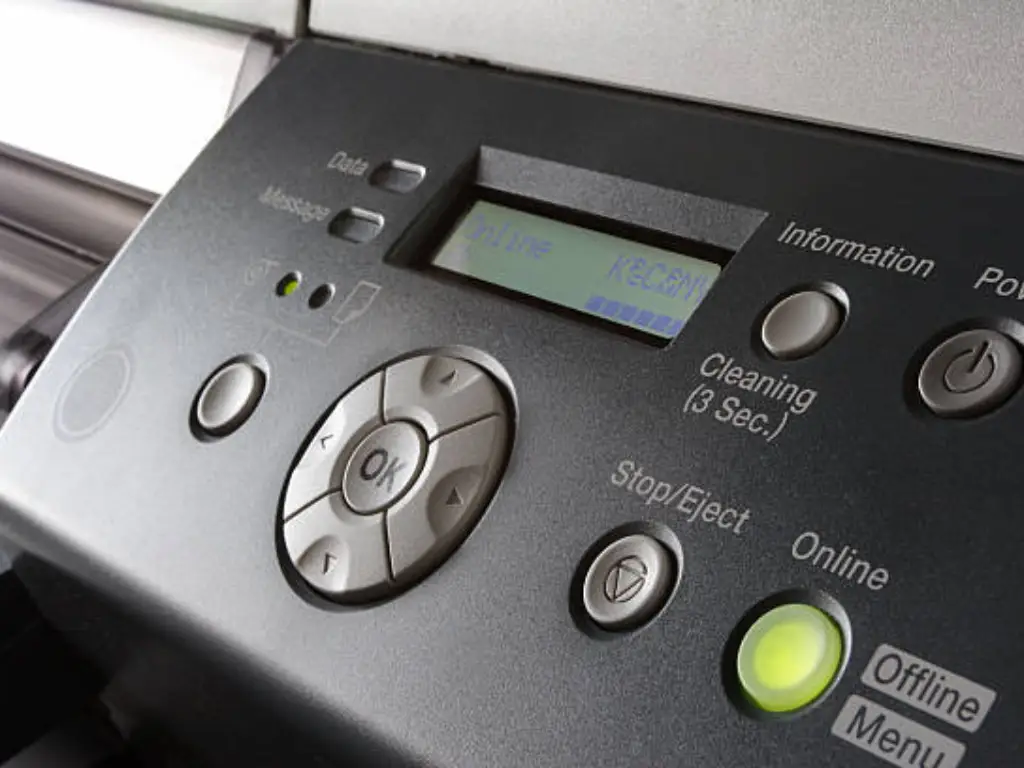
Printers have become an essential part of office life. However, the printer cartridge or toner needs to be replaced regularly as the consumption increases. When the cartridge is low, the printer will notify the user to replace it, often displaying an error code. This article provides a step-by-step guide on how to replace the Canon printer cartridge so that you can change the cartridge without any difficulties and improve printing productivity.
Identify Your Canon Printer Model
Before you replacing a cartridge, you need to first find out your Canon printer model. The reason behind this is that various models of printers take different specifications and types of ink cartridge or toner cartridge. Failing to identify your printer model properly may result in you buying an incompatible cartridge or toner, which may either result in installation problems or even damage the internal parts of your printer.
How to Identify Your Printer Model
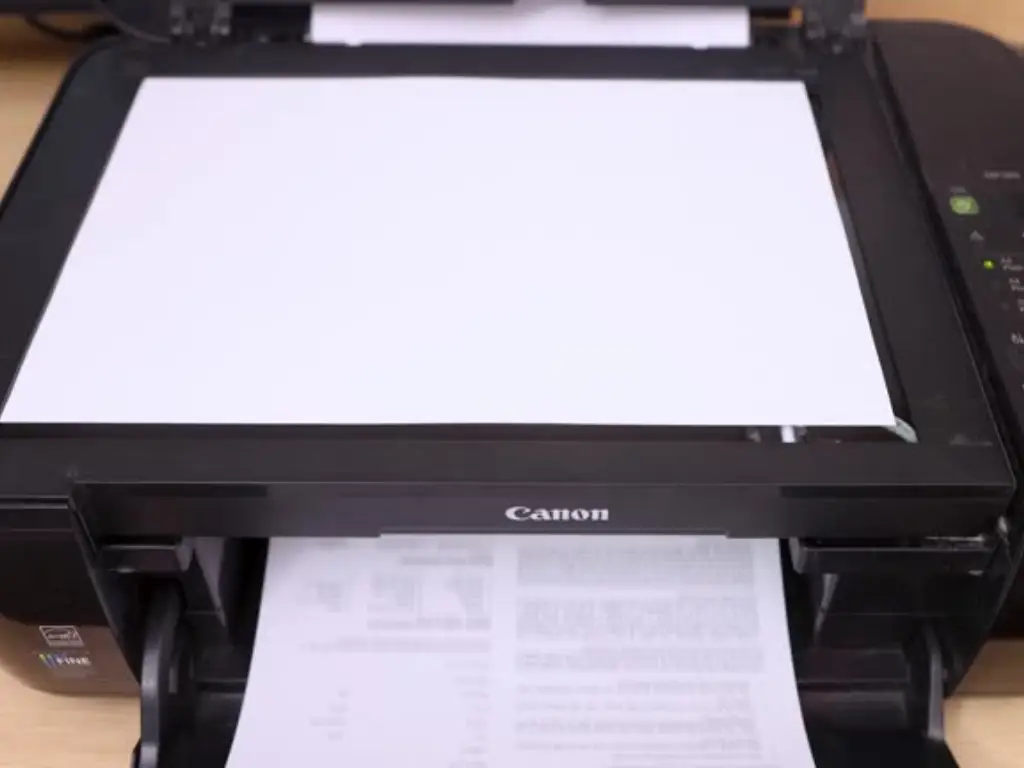
•Look at the front panel of the printer: The printer model is usually clearly printed on the front panel.
•Check the label on the printer: If the model number is not visible on the front panel, open the printer cover and look for a label. This label usually displays the model number.
•Locate the model in printer settings: If your printer is already connected to your computer, you can find the model number in the printer settings or device information.
Once you’ve confirmed the model, you can ensure that you purchase the correct toner or ink cartridge that is compatible with your printer, avoiding installation problems and ensuring good print quality.
Toner Specifications for Different Canon Printer Models
| Canon Printer Model | Compatible Toner Cartridge | Type |
| Canon PIXMA MG Series | PG-245, CL-246 | Color & Black Ink |
| Canon PIXMA iP Series | PG-243, CL-244 | Color & Black Ink |
| Canon MAXIFY MB Series | PGI-250, CLI-251 | Color & Black Ink |
| Canon imageCLASS LBP Series | 137, 137H | Black Toner |
| Canon imageCLASS MF Series | 037, 047 | Black Toner |
| Canon PIXMA TS Series | PG-245, CL-246 | Color & Black Ink |
| Canon imageCLASS MF4420d | 118, 118H | Black Toner |
| Canon PIXMA PRO Series | PGI-29 | Professional Ink |
With this table, it is easy to look up and find the compatible toner cartridge models with various Canon printer models. Not sure of your printer model or cartridge specifications? Consult the user manual that came with your printer or check the Canon official site to know more about your cartridge specifications.
Difference Between Ink Cartridges and Toner Cartridges
Cartridges or toners are of many different kinds depending on the type of printer. As a rule, inkjet printers use ink cartridges, and laser printers use toner cartridges. One should know the difference between them to install the cartridge correctly.
•Ink Cartridges: Ink cartridges for inkjet printers are filled with liquid ink. Ink cartridges are generally smaller, and are usually of the all-in-one variety, such as the ink and printhead being combined. This kind is targeted for home or small office usage and has high quality color printing and fine detail.
•TonerCartridges: Toner cartridges hold solid toner powder, and are present in laser printers. Laser printers are laser-powered, and toner cartridges typically hold single units including photoconductive drums, magnetic drums, and toner. This printing technology best fits in a high volume/high-speed printing setting and produces clear and stable printing results, especially in bulk printing.
Being aware of what type of printer you have and selecting the appropriate cartridge or toner will prevent any problems during installation and will guarantee a decent print quality.
Preparing to Replace the Cartridge
Ensure that you are ready before changing the cartridge. This is what you should do:
•Switch off printer: As a safety measure, make sure you switch off the printer and remove the power supply. This prevents electrical accidents during replacement.
•Ready the new cartridge: Open the package of the new cartridge and be careful not to touch the electrical contacts. These are the contacts that are used to connect the cartridge to the printer and touching them can cause problems.
•Remove the protective tape: The new cartridge often comes with a protective tape. Ensure to remove it before installation. Leaving the tape on can cause errors or prevent the printer from recognizing the cartridge.
•Clean the printer: Use a soft cloth to clean the inside of the printer, especially the area where the cartridge will be mounted. Dust and ink can be a problem.
These preparations will help you to replace the cartridge with fewer problems and without accidentally damaging anything.
Removing the Old Cartridge Safely
Next, we will see how to take out the old cartridge out of the printer. The procedure can be slightly different according to the model of the printer, yet the overall process is alike. Most of the time, this will require you to open the printer lid, unlatch it, or press a button to eject the cartridge.
General Steps
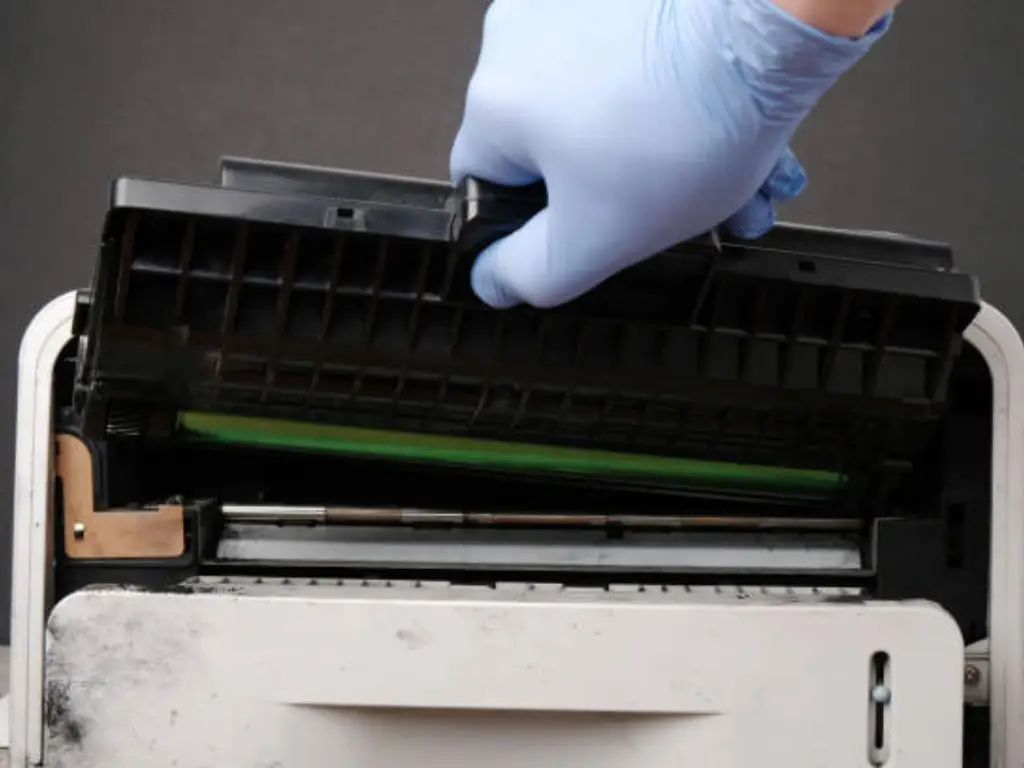
1. Open the top cover or front cover of the printer: This action will reveal the cartridge and the printhead.
2. Locate and press the release button: Most Canon printers possess a release button on the cartridge. When pressed, it will eject the cartridge.
3. Remove the old cartridge: Do not apply too much force, as this may damage the inside components of the printer. When you need to change the cartridge, ensure that it does not spill ink and create a mess.
The installation place can be cramped or complex in case this is the first time you are replacing the cartridge. Next, there is a printer manual or online tutorials, which you can look up to in order to operate it properly. Do apply gently, as it can damage the inside parts.
Installing the New Cartridge
The installation of the new cartridge is the most important part of the replacement procedure that follows. It is necessary to ensure that the new cartridge is correctly installed, otherwise the printer can fail to detect it, and the quality of prints can be negatively affected.
Installation Steps
1. Take out the new cartridge from its packaging: Carefully remove the new cartridge from the packaging, making sure not to touch the electrical contact points.
2. Align the cartridge with the installation slot: Find the cartridge installation slot inside the printer and align it with the slot.
3. Gently push the cartridge in until it clicks: Apply moderate pressure to insert the cartridge until you hear a “click” sound, which indicates the cartridge is securely in place.
4. Close the printer cover: After confirming the cartridge is installed correctly, close the printer’s cover, reconnect the power, and turn the printer on.
At this point, the printer should automatically detect the new cartridge. If the printer doesn’t recognize it immediately, you may need to adjust some settings in the driver or double-check the cartridge installation.
Toner Master Advantages
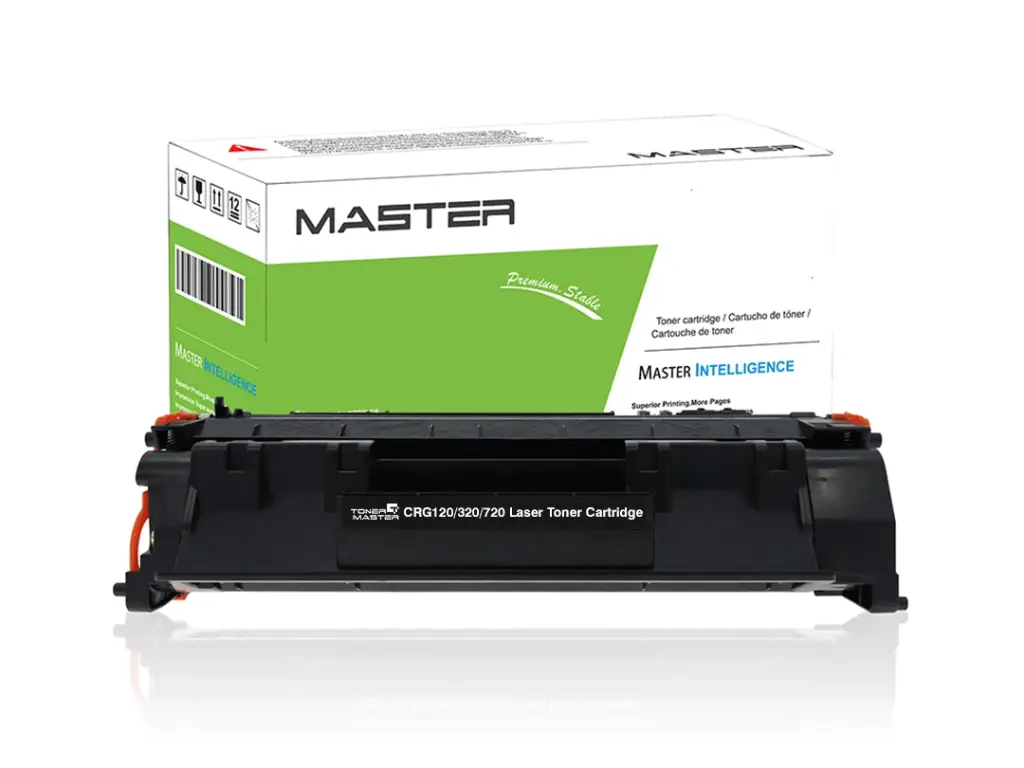
Toner Master offers very compatible cartridges and toners covering most brands and models including Canon and over 10 popular brands and models . Environmentally friendly materials and high-quality print are the features of our products. Our prices are just a third of the original prices of original cartridges. Also, we have stringent quality control in the manufacturing and storage of our cartridges so that every cartridge gives consistent performance. The toner specialists guarantee you the best products regarding compatibility, print quality, and service.
Troubleshooting After Installation
After installing the new cartridge, you might face some of the general problems, including the inability of the printer to detect the cartridge or low quality of the prints. If this occurs, try the following troubleshooting:
•Cartridge not installed properly: Ensure that the cartridge is installed. Ensure that the contact points on the cartridge are well aligned with the interface of the printer. There are certain models of printers where you have to press on the cartridge in order to make sure it is set in position.
•Cartridge compatibility issue: Check that the cartridge you have bought is suitable to your printer model. You may have compatibility issues with a third-party cartridge. In this instance, attempt to re-install the cartridge or refer to the supplier to confirm.
•Clean the printhead: Occasionally, the printhead may be clogged with ink and this affects the quality of printing. Clean the printer using the cleaning feature in the printer. In case of a persistent problem, clean the printhead manually.
•Firmware updates: Sometimes, issues after installation can require firmware updates. Check for available firmware updates from your printer’s settings or website to ensure smooth operation.
If the above-mentioned steps have failed to solve the problem, refer to the manual of your printer or contact the technical support.
Reset the Ink Levels (If Necessary)
After you replace the cartridge, some printers still display low ink or cartridge error messages. This is normally due to the ink levels not being reset. To reset the ink levels, depending on the model of your printer, you can use the following methods:
•Manual reset: Consult the printer manual for instructions on entering the settings menu and manually resetting the ink levels.
•Reset through printer driver: Open the printer driver in your computer and under the ink management section reset the levels.
Toner Master Support
Toner Master has 24/7 customer service. We offer professional consultation service to answer any cartridge compatibility or installation query. In case you have problems with the installation, you can always refer to our support team.
Long-Term Maintenance Tips

Replacing the cartridge is a major move to ensure your printer continues to work, yet a routine clean of the printer is also essential in extending the lifetime of the printer and in ensuring that the quality of the print out is excellent.
Maintenance Tips
•Keep the printer clean: This means cleaning the inside parts of the printer frequently to avoid dust accumulation and keeping the print quality. Be careful about the cartridge installation area and the printhead. At least clean it once a month.
•High-quality cartridge: Select high-quality cartridge that is well compatible. Do not use cartridges of poor quality, which can either block the printhead or compromise quality of printing. Toner Master cartridges are quality controlled and are the best you can use in the long run.
•Do not power-cycle repeatedly: Do not switch the printer on and off repeatedly. Leaving the printer switched on will increase its lifespan.
Toner Master’s Commitment to Environmental Responsibility
We know how crucial the idea of sustainability is, which is why all of our products are manufactured using environment-friendly materials and are certified to the international standards, including ISO9001 and RoHS. Our commitment to product quality does not only end there, we also aim to reduce environmental impact..
Conclusion
With the help of this guide, you will be capable of replacing the cartridge without any problems and ensuring that your printer will serve you with good prints in the long term. By using Toner Master printing consumables, you will be able to access high quality print and cost effective printing solutions.